Wassup yello hi hello, it’s been a while, yes indeed.
That’s because I’m not so used to WordPress tbh, I’m more active on Tumblr or the Tweets. And it’s also school time so.
Anyway, this is basically about what I know about watercolors though mind you I’m no professional.
THINGS YOU NEED BC YEAH
-WATERCOLOR PAPER: This is a basic thing but yeah, regular paper is too thin to handle watercolors. Or water. Yeah. Mind though, the paper can still do the crumple thing in a way.
-PAINT BRUSHES: Using a random brush is eh, but it’s best you use specific brushes for watercolor purposes though they can be really expensive if you want really gr8 quality ones. I got my paintbrushes from a far away place and the store’s called Deovir. [Gonna get on what kind of brushes I use later.]
-THE TRAY THING: For mixing colors bc mixing is a thing.
-CONTAINERS FOR WATER: This one’s important bc without this watercolor is just color. That was a joke, it wont be watercolors anymore. You’d probably need 2 though, one to be dirty and the other to be clean[er than the other one]
-TISSUE: For when you spill your water. That’s also a joke but it’s true. Anywho, you use these things so you can to some other techniques and so you can lessen the water you put on the paper.
Soooo I don’t really do any special techniques tbh, but there are a number of techniques such as:
-wet on wet?? idr [you make your paper wet then use a wet brush with paint on the wet parts]
-lifting [when the paint is still wet/you make an area wet, you can use tissue to ‘lift’ the color which basically means to make the part where you dabbed with tissue lighter colored. It’s used to make clouds, but you can do this when you make a mistake too.]
-negative painting [you color the outside of where you’d normally paint, you need to plan this ahead of time. You make the outside wet then add color to the wet area, similar to the way of the wet on wet technique]
-splattering and spraying [splattering is where you tap your paintbrush when it has paint to make messy dots. Spraying uses an old toothbrush, you ‘rake’ the bristles with something like a toothpick or the end of your paint brush. These are probably used for blood.]
-There’s a tecnique where you use salt. And alcohol too.
-A whole bunch of others. I usually use the first 2.
Here goes how I usually do the watercolor thing.
1) Basically, I draw a light sketch of whatever I want to draw. Then erase bits of it, enough to know what you drew.
2) Grab your brush and dip it in water. Make the parts you wanna color wet. [Note that if you wanna color hair and skin, you gotta water only one of those. Only put water on the skin if you wanna start with skin, which is commendable though I forget to do just that. If you wanna color hair, only put water on the hair.]
3) Get your brush with some colors and just boop the water. You can just boop it or make strokes. Note that when you do a stroke, when you lift your brush, the part where you left off will be the darkest.
4) At this point I just experiment with colors when the paint’s still wet; put in some random colors. Like if I’m painting a red ball I’ll put yellow, orange, blue and purple somewhere…… Okay, maybe not all of those if the thing looks horrid by the time I use blue or another color I mentioned, but you get what I mean.
5) You wait for all that to dry. I don’t know how long it takes but it takes a while.
6) You do the same thing to the other parts you haven’t colored yet. Note that the already painted on areas can mix to where you’re painting when the area’s p wet.
7) When all that is dry, use a colored pencil to draw the lineart.
8) I usually forget to plan where I put highlights for hair or eyes, so I use the liquid correction thing. [I think you use the negative technique to do the highlights part]
I got a bunch of links that helped, though you know.
Google is your best friend.
http://cashtier.tumblr.com/post/72090189889/oh-boy-sorry-to-keep-yall-waiting-hopefully-u
http://www.watercolorpainting.com/watercolor-tutorials.htm <– This one has a bunch of techniques.
The brushes I have yeee
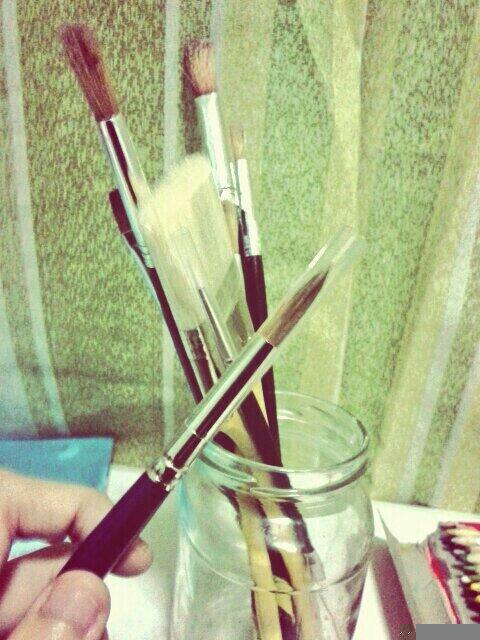
!~Note: I don’t remember the kind of fur these brushes have, I’m so sorry.~!
-I got a really thick brush which is used for certain techiques or for landscapes [which is something I don’t do very often because it’s a background and I suck at those so].
-There’s a brush that’s size 8 which is used for most stuff you’d watercolor with. It’s the brush I’m holding.
-There’s a flat brush, size 4 which is used for leaves. At least, that’s what I know of, you can use it for whatever you want.
-There’s a number 1 brush which is the tiniest and the most expensive thing. Used for details.
IMPORTANT THINGS ABOUT BRUSHES
-DON’T LEAVE THEM IN A CONTAINER WHERE IT LEAVES THE BRUSH STANDING. This will ruin the brush.
-WASH THEM. [there’s some posts about how you clean them so]
-If you use them for watercolors, oNLY USE THEM FOR WATERCOLORS.
Now we’ll have a bunch of stuff I attempted to make.


^This is Kip from Monsterkind by the by.


I tried the negative technique on this one, didn’t go as expected but it was okay I guess.

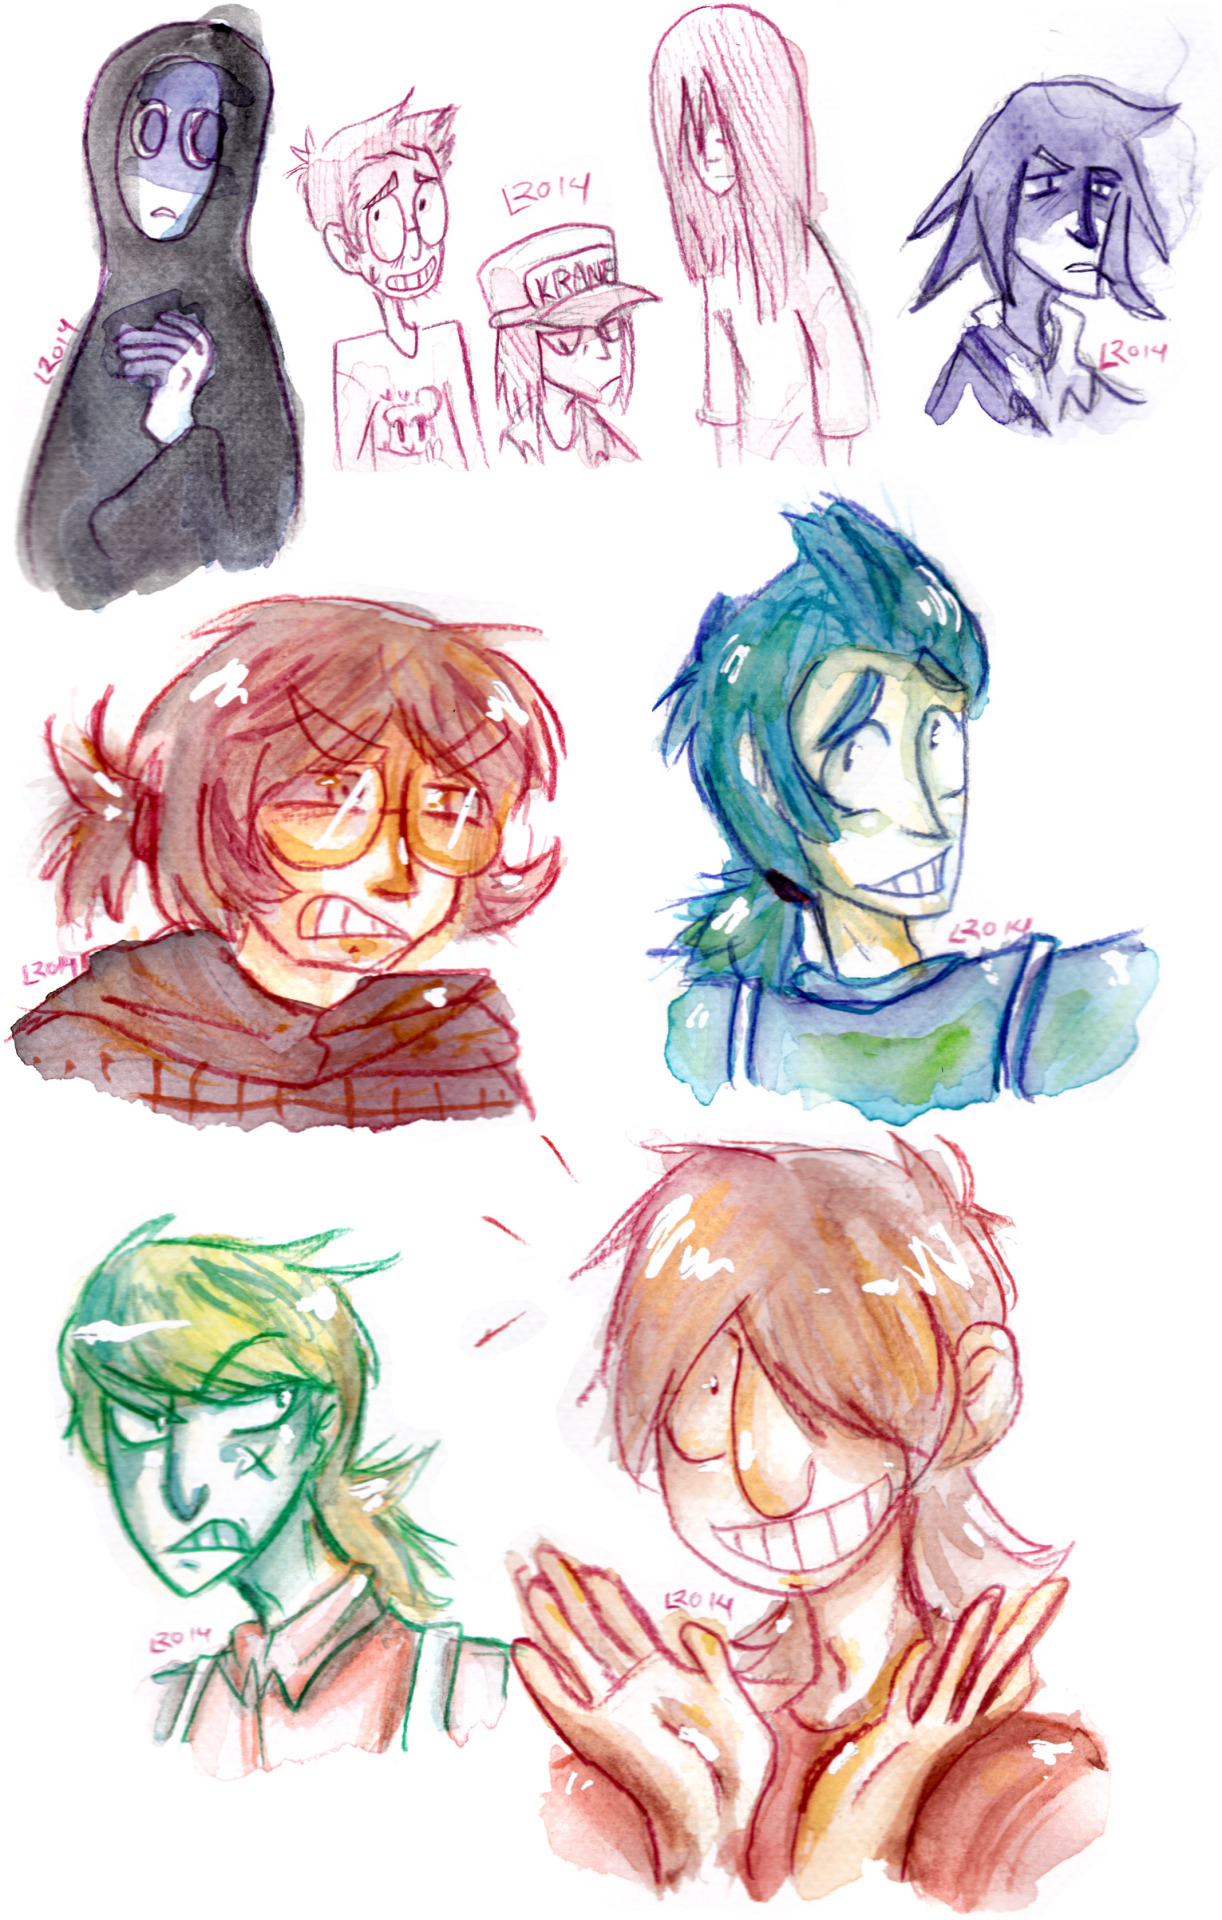
And this is a bunch of Mad’s OCs.
And I guess that ends my long thing.
